|
|
|
Painting Tutorial
To begin with, you're going to need the Sims, the Transmogrifier, and a fairly decent graphics editor like Paint Shop Pro or Photoshop.
1) Find a subject
Since I'm doing this tutorial, I'd like to do a painting by my favorite painter, Nicholas Poussin.
Bear in mind, most stuff done by a living or recently dead (within 50 years or so) artist is copyrighted, and so you could run into trouble if you put it on your web site. I know one web site features several paintings of Disney stuff - given their propensity to sue, that's just asking for trouble...especially if it's a commercial (ie, supported by advertising) site.
Luckily for me, old Nick been dead for a couple hundred years.
2) Find a picture of it, preferably on the web. Most paintings have them. Poster and Print reproduction websites are very good sources. (I have several sources of images on my links pages). You can also scan a picture in. The best quality picture available should be used.
After some searching, I found a painting I like of his. Blind Orion Searching for the Rising Sun.

Now technically, unless you took the original photo (or whatever) of the work in question yourself, you're infringing on someone elses copyright (they own the copyright to that particular scan or photo or reproduction of the image), but in practice, if you screw with it a bit in an editor, such as lightening or darkening it a bit, or adding pixels, or rising, it's almost impossible to prove. (Some places do put watermarks, so watch out)
3) Try to find the shape it resembles most in the paintings.iff file, and then clone it with the transmogrifier. In this tutorial we're only going to work on 1 tile paintings, so just look at all of those.

Hmmm. It sort of has the shape of this painting, so lets clone it!
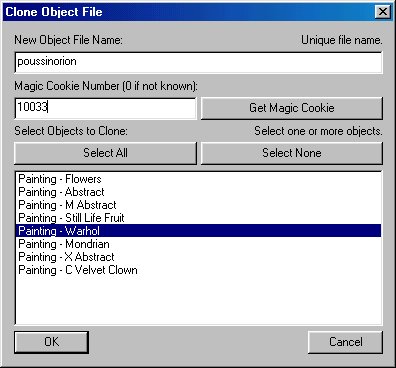
I give it an apropriate name (poussin orion), and I use my magic cookie number (10033). Don't use that, use your own or if you don't have one, use 0.
4) Export the object file. It's quickest (IMHO) to create a folder on your desktop for new objects. Be sure to pick all channels.
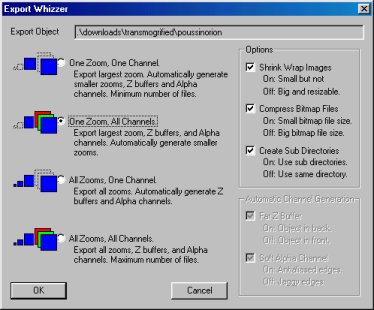
5) Using a paint/graphic program, try to orient the graphic of the source painting in the same basic direction as the original painting you're replacing. You do this by using the 'Skew' deformation, (somtimes I use horizontal perspective as well). Skewing around 20-25 seems to be best. It depends on the shape of the source, so it requires some trial and error.
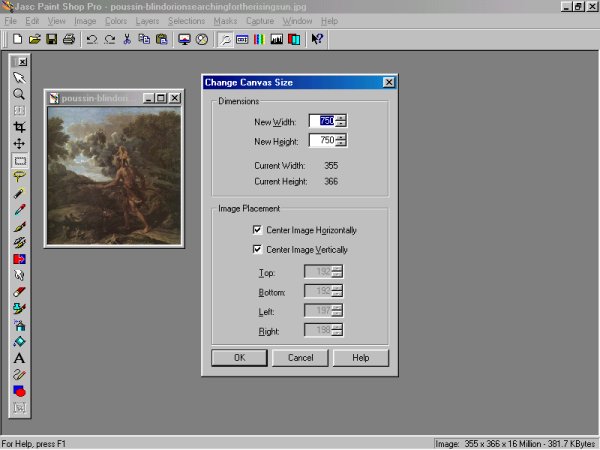
Before you skew, you should increase the canvas size of the original graphic to give you room to work. Usually make it double the size of the graphic
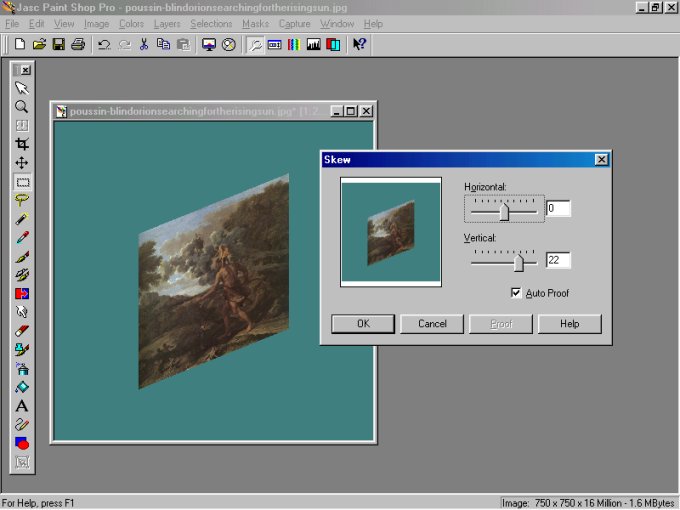
Skewing the painting....
6) Copy the deformed source painting to a new image file just big enough to fit (Usually copy and 'paste as new image'). In Paint Shop Pro, it's easiest to use the magic wand tool to select the the background (green area around painting), and use the invert selection (Ctrl-Shift-i). That way the whole painting is selected in two steps.
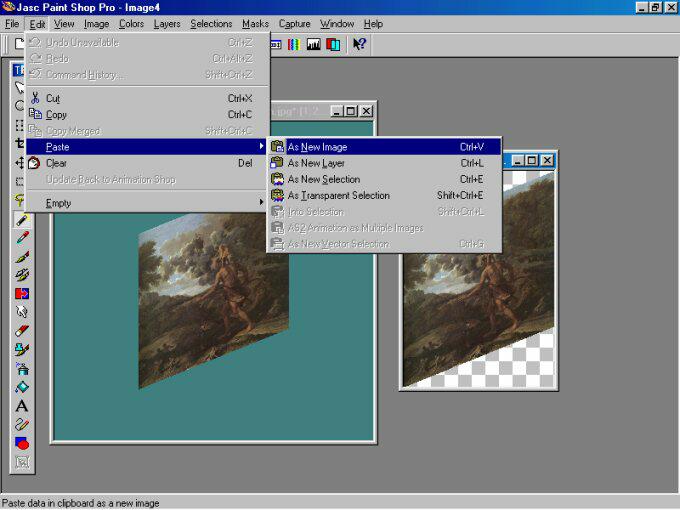
7) Resize the new image file to dimensions slightly smaller than the original painting you're replacing. (Smaller, because of the pictures are framed in the game. ) Here are some vague dimensions of what you want to resize it to (the exact varies on the source):
Mondian - 83x110 or so
Still Life Fruit - 55 x 85
Cheap, Long Abstract - 58 x 67 (Skew 15 if very long)
Warhol - 57 x 97
Be sure to turn off the 'Keep Proportions' or "Maintain Aspect" or 'Keep Ratio' checkbox
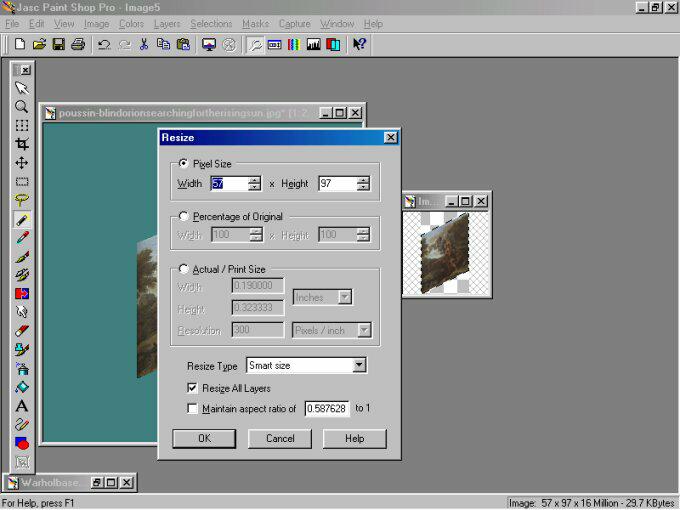
Since we're replacing the Warhol picture, I resize it to 57 x 97
8) Then copy the resized image into the original painting image (that you exported). Be sure to increase the color depth of the original painting. It will usually take some trial and error to get it just right, repeating steps 5-8.
The original painting bitmap is labeled "BlahBlah_front_p", where BlahBlah is the name of the original painting. It's where you exported the object files to.
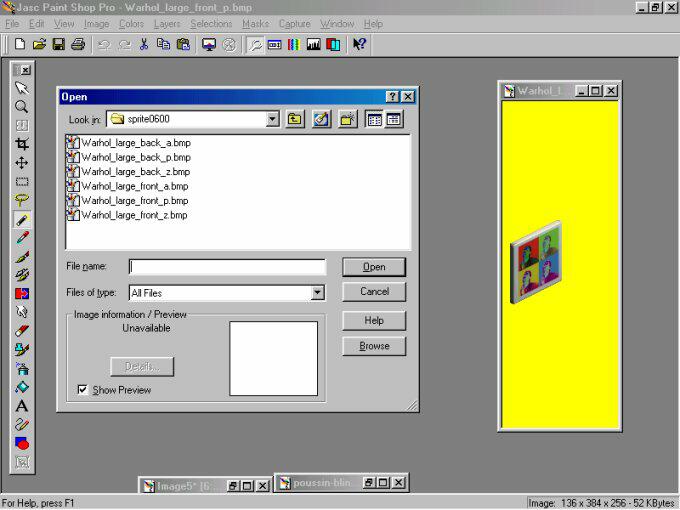
In this case, it's Warhol_large_front_p.bmp
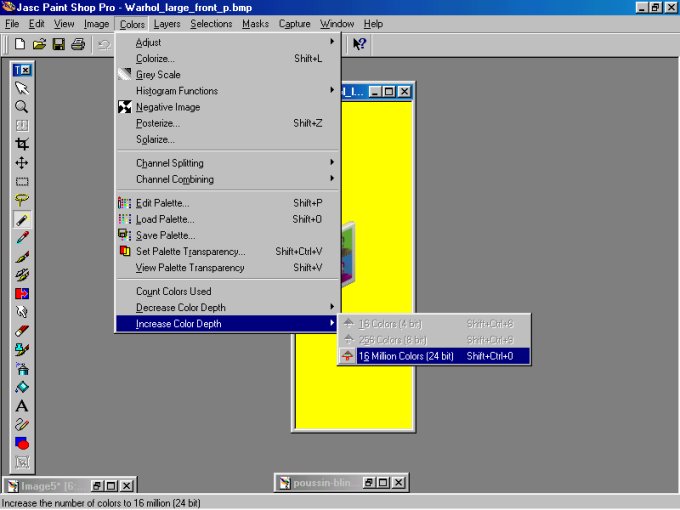
Now I increase the color of the it to 24 bit (in PSP you can also use Ctrl-Shift-0)
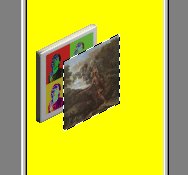
Having copied the source painting, I paste it into the old painting
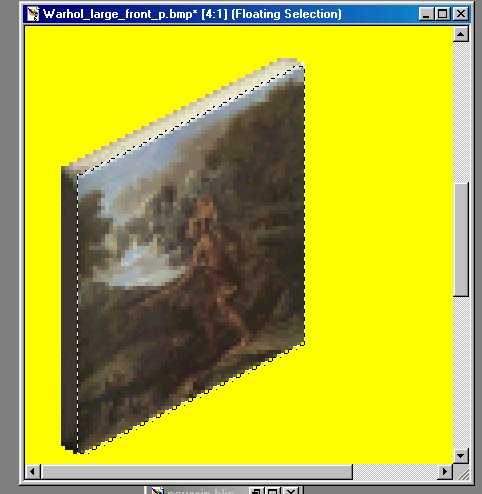
Now I zoom in, and place it exactly over the old painting. A perfect fit! In reality, it will likely take several attempts to get the angle/size just right.
9) Convert to 8 bit (256 color) palette, Save Palette, then Load that palette into the sprite for the back of the painting....
A set of sprites (front and back of the painting in this case) has to have the same palette, or colors used.
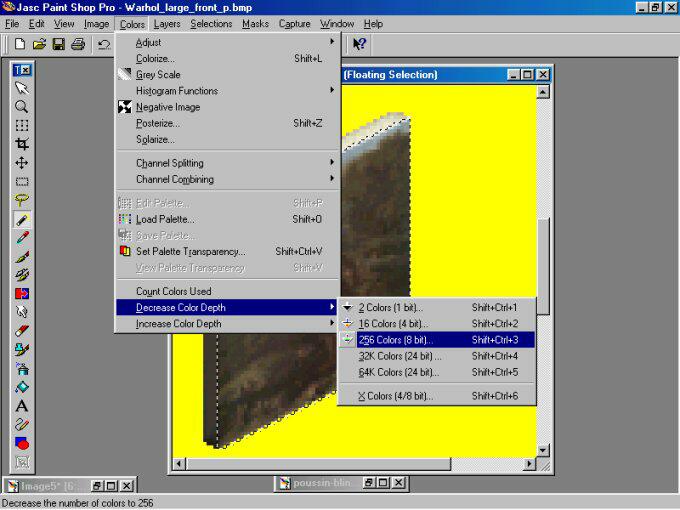
Decreasing color to 8 bit.....
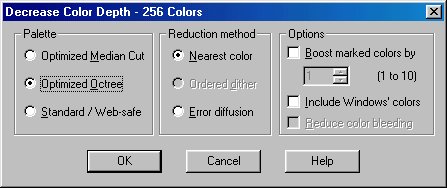
For best results (IMHO) , pick Optimized Octree and the Nearest Color method.
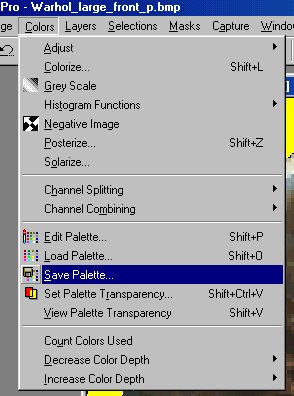
Save the palette and then save/close the file....
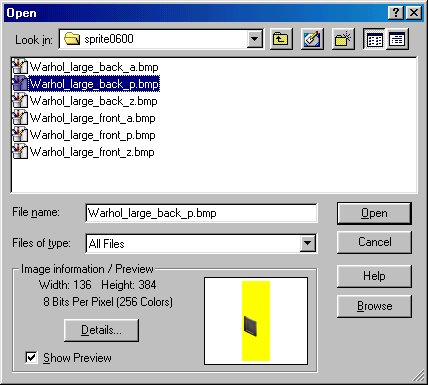
Now open the file for the back of the painting....
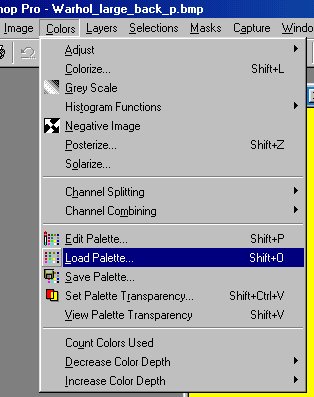
Then load the palette
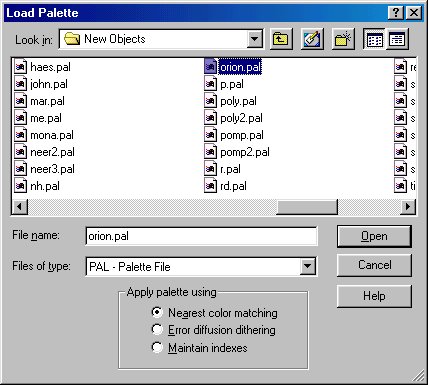
I saved the palette as orion.pal, so that's the palette I want to load. Be sure to use nearest color matching.
Once you do that, you should notice a slight change in appearance, and just close and save the file. The palettes are now matched.
10) Import Back into Transmogrifier
Flip back to the transmogrifier, and import the apropriate xml file for that object....
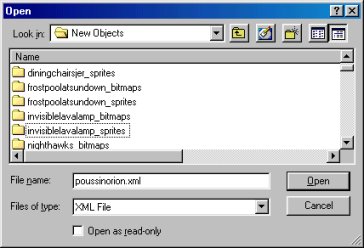
I import poussinorion.xml (which is the name I used when exporting it).
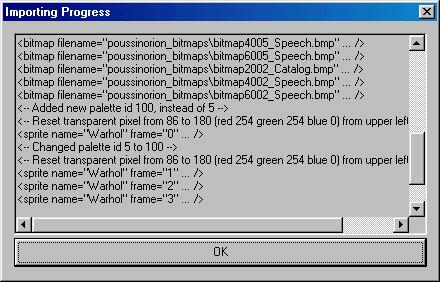
It imports it, and when finished, asks me to hit okay, which you do.
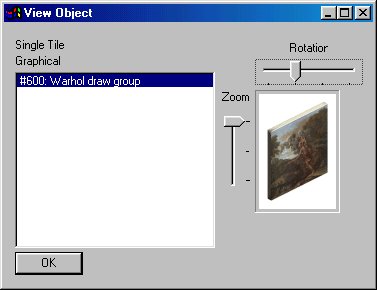
Now pick view to look at the object, and here we see that it's quite nice.
11) Change the name and price of the object by selecting 'Edit Object'
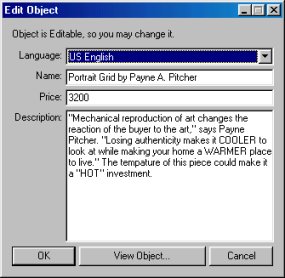
The old name and description....
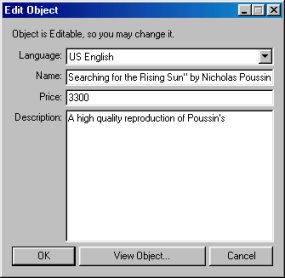
Enter the new name and description into the apropriate boxes...
If you're ambitious, you can change them for all the different languages. A future version of the TM will have an option to do this automatically.
12) Run the Sims and see how it looks
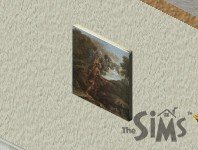
Hmmm. Not bad....
13) Notes
If you plan on doing paintings a lot, be sure to take advantage of the fact that you can save selections to disk. Really saves a lot of time. And don't forget you can use the magic wand tool to select an entire color (like the background), and ctrl-shift-i to invert the selection and just get the painting.
Almost all the one tiled paintings are mirrored in the game at some angles . If the fact that they are mirroed bothers you, you can use clone the cheap small abstract painting (it's not mirrored) instead. You have to do twice the work though.
To do two tile paintings, I paste it on this  first, which is what it
looks like when they are joined. Then I copy the left half onto
the sprite for the left half, then the right half on the sprite
for the right half. Pretty easy. If you have Paint Shop Pro, download this file - it has selections
for the left side of the painting (including the 3 little dots),
the right side, and the frame. Just load selection from disk (ml
is the left, mr is the right, mondoframe is the frame). Saves
much time
Some of the paintings (like the abstract painting, the warhol)
have a line between the frame and the front of the painting to
make it look more 3d. The same with top to a lesser degree. It's
actually on the left side, but for some reason it's more promient
when mirrored (and so when it's on the right).
Usually, I change the color/hue of the frame to fit the painting
better (I actually normally do this on a separate graphic, then
copy the frame and paste it over). You can also just select
the problem line and change the hue to fit the painting better.
Or sometimes I copy the left most line of the painting and paste
it over the problem line, and then blur it. You also just make
the original one pixel wider when you copy it over, but that can
screw up the left corner. So be careful if you do that.
The images can get a bit blurry when you reduce the size of them.
You can use Sharpen to sharpen it (duh <g>), but sometimes
that will put bright spots in the painting. And you might want to
touch them up by either selecting them and reducing the
brightness, or using a paint program and retouching it.
[ Back to Main ]